Cleaning a car’s interior is an essential part of maintaining a pristine and pleasant driving environment. Whether you’re a car enthusiast or just want to keep your vehicle looking its best, this comprehensive guide will help you achieve a spotless dashboard with ease. In this article, we’ll walk you through the process step-by-step, providing useful tips and techniques along the way.
Table of contents
Why Cleaning Your Car Dashboard Matters
A clean dashboard not only enhances the appearance of your car but also ensures a healthier environment by removing dust, dirt, and allergens. Regular maintenance can prevent long-term damage and keep your car’s interior looking brand new. The dashboard is one of the most visible parts of your car’s interior, and a clean dashboard reflects well on the overall care and maintenance of your vehicle. Moreover, a clean dashboard can improve the driving experience by reducing glare and ensuring that controls and displays are easy to read.
What You’ll Need
Before you begin, gather the following tools and supplies to ensure you have everything you need for a thorough cleaning a car interior session. Having the right tools on hand will make the process smoother and more efficient.
- A bristle brush: This can be found at most auto parts stores or online. A bristle brush is excellent for scrubbing away tough dirt and grime without damaging the dashboard material.
- An old toothbrush: If you don’t have a bristle brush, an old toothbrush can serve as a handy alternative. It’s particularly useful for getting into tight spaces and around buttons.
- Detail buddy brushes: These are optional but can be helpful for more detailed work. They come in various sizes for different cleaning tasks.
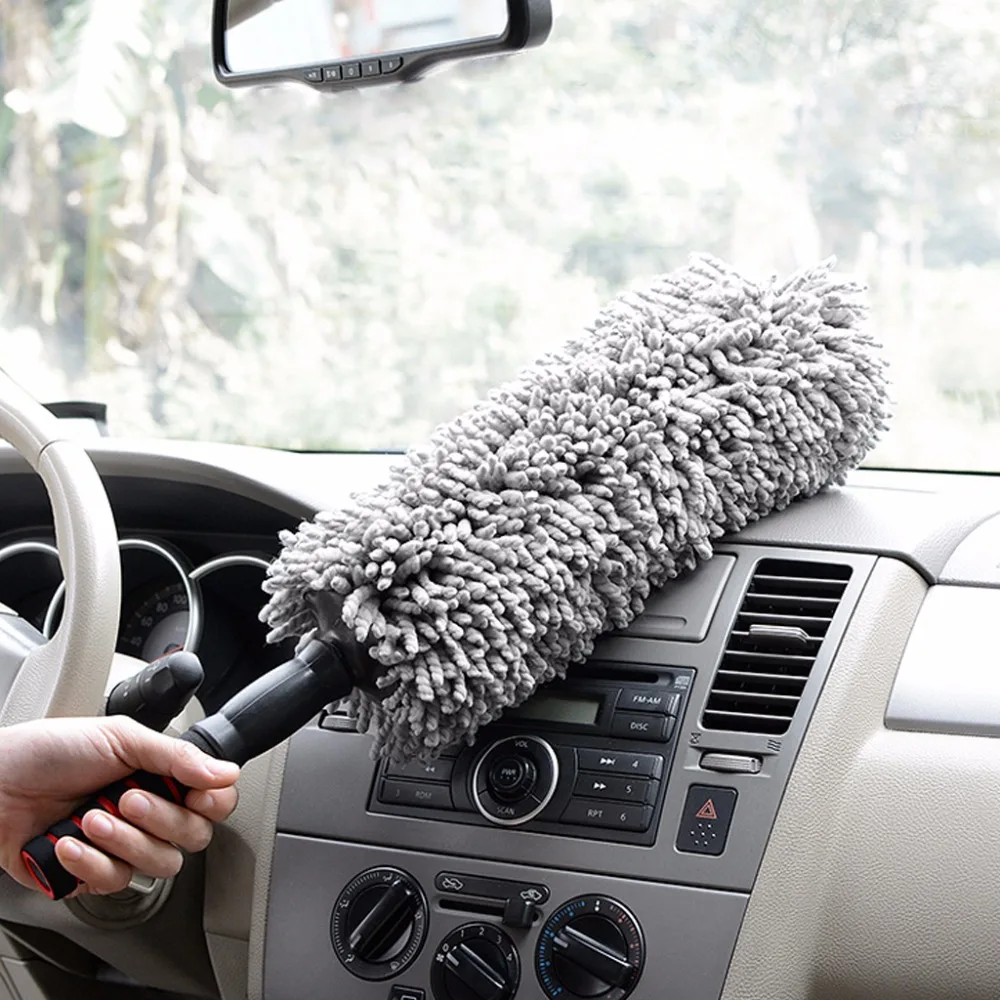
- Microfibre towels: Essential for wiping down surfaces and drying the dashboard. Microfibre towels are gentle on surfaces and great for picking up dust and dirt.
- McGuire’s D101 All-Purpose Cleaner (diluted 10:1): This cleaner is effective at removing dirt and grime without being too harsh on your car’s interior materials.
- A dry brush: Useful for removing loose dust and ensuring that no cleaner residue is left behind.
- A vacuum cleaner: Optional, but can be very helpful for removing larger debris and crumbs from around the dashboard and vents.
Step-by-Step Guide to Cleaning Your Car Dashboard
Let’s dive into the detailed steps of cleaning your car’s dashboard. Each step is designed to ensure thorough cleaning a car interior while protecting your car’s interior.
Step 1: Remove Personal Belongings
Start by clearing your dashboard of any personal items. This will give you more space to work and prevent any accidental damage or cleaning mishaps. Items such as sunglasses, papers, and any decorative items should be removed. Clearing the area ensures that nothing gets in the way and that you don’t accidentally spray cleaner on something valuable. This step also helps you avoid the frustration of moving items back and forth as you clean.
Example: Sarah, a busy mum of two, always keeps her children’s toys and snacks on the dashboard for easy access. Before cleaning car’s interior, she removes everything, ensuring the area is clear, which makes the car interior cleaning process much smoother.
Step 2: Inspect the Dashboard
Take a moment to carefully inspect the condition of your dashboard. Note any areas with heavy soil, dust, or stains. If your dashboard is heavily soiled, you might need to use a bit more elbow grease. For light dust, a simple wipe-down will suffice. Understanding the condition of your dashboard helps you determine how much cleaner and scrubbing you will need. It also allows you to spot any potential problem areas that might require special attention.
Example: John, who loves off-roading, notices that his dashboard has accumulated a significant amount of dust and mud splashes. By inspecting the dashboard, he realises he needs to spend extra time on certain areas to ensure a thorough clean.
Step 3: Apply Cleaner
- For Light Dust: Spray the all-purpose cleaner directly onto a microfibre towel and wipe down the dashboard. This method prevents overspray and ensures that the cleaner is applied evenly. Gently wiping with the towel will remove dust without scratching the surface.
- For Heavier Dirt: Spray the cleaner onto the bristle brush or toothbrush and gently scrub the surface. This approach allows you to focus on stubborn dirt and grime. Make sure to scrub in circular motions to lift dirt effectively without damaging the dashboard material.
Example: Emma, a city commuter, finds her dashboard mostly covered in light dust and fingerprints. She sprays the cleaner onto a microfibre towel and easily wipes away the dust, making her dashboard look as good as new. She enjoys the results of the cleaning a car interior routine.
Step 4: Clean the Vents
Air vents can accumulate a lot of dust and dirt. Here’s how to clean them effectively:
- Spray and Agitate: Use a small detail brush to spray the all-purpose cleaner into the vents. The brush helps direct the cleaner into the hard-to-reach areas of the vents.
- Loosen Debris: Agitate the vents with the brush to loosen any debris. The bristles of the brush will reach into the crevices and dislodge dirt and dust.
- Wipe Clean: Wipe the vents with a microfibre towel to remove loosened dirt. The towel will pick up the dirt and cleaner, leaving the vents clean and dry.
- Dry Thoroughly: Use a dry brush to remove any remaining cleaner and dry the vents thoroughly. This step ensures that no moisture is left behind, which could attract more dust or cause damage.
Step 5: Clean the Navigation Panel and Buttons
The navigation panel and buttons are high-touch areas that can get quite dirty. Cleaning them properly ensures that they function well and look great.
- Dry Brushing: Use a dry brush to remove loose dust from the navigation panel and buttons. This step prepares the area for deeper cleaning by removing the top layer of dust.
- Detailing: Spray cleaner onto a microfibre towel and wipe down the buttons and panel. For stubborn dirt, use the bristle brush. The cleaner will break down grime, while the brush or towel will remove it.
- Buffing: Buff the area with a clean, dry towel to remove any streaks or residue. This leaves the buttons and panel looking polished and clean.
Step 6: Clean the Gear Shift and Other Controls
The gear shift and other controls are often overlooked but can accumulate a lot of dirt and grime. Here’s how to clean them effectively:
- Spray and Agitate: Spray cleaner onto the bristle brush and agitate the gear shift and controls. Cover the surrounding area with a towel to catch any drips. The brush will help get into the crevices and remove dirt.
- Wipe Down: Use a clean microfibre towel to wipe away the loosened dirt and cleaner. This step ensures that no cleaner residue is left behind.
- Dry Brush: Use a dry brush to ensure all cleaner is removed and the area is dry. This step prevents moisture build-up and ensures the controls are clean and dry.
Step 7: Final Touches
The final touches are crucial for a perfect finish. Here’s how to ensure your dashboard looks its best:
- Inspect and Touch-Up: Inspect the dashboard for any missed spots. Apply more cleaner and agitate if necessary. Make sure every area is clean and free of dirt.
- Final Wipe-Down: Spray a small amount of cleaner onto a microfibre towel and give the dashboard a final wipe to remove any remaining smudges or dust. This step ensures a polished, clean finish.
Tips for Keeping Your Dashboard Clean
Maintaining a clean dashboard is easier if you follow these tips:
- Regular Maintenance: Regularly wipe down your dashboard to prevent dust build-up. A quick weekly wipe can keep your dashboard looking great.
- Close Windows: Keep windows closed when parked to minimise dust and pollen entering the car. This reduces the amount of cleaning needed.
- Avoid Harsh Chemicals: Stick to gentle cleaners to prevent damage to the dashboard material. Harsh chemicals can cause fading or cracking over time.
Conclusion
Cleaning your car’s dashboard doesn’t have to be a daunting task. With the right tools and techniques, you can keep your dashboard looking spotless and maintain a pleasant driving environment. Regular maintenance will ensure your car’s interior stays in top condition for years to come.
By following these steps, you’ll not only enhance the appearance of your car’s interior but also create a healthier environment for you and your passengers. Keep this guide handy and make dashboard cleaning a regular part of your car care routine. Happy cleaning!
FAQ
Q: What is the best thing to clean the interior of a car?
A: The best thing to clean the interior of a car is a combination of microfibre towels, a vacuum, and an all-purpose cleaner. Use these tools to effectively remove dust, dirt, and stains from all surfaces.
Q: What is the best thing to clean the inside of a car dashboard?
A: The best way to clean the inside of a car dashboard is using a microfibre towel with a gentle all-purpose cleaner. For deeper cleaning, use a soft-bristle brush to reach crevices and vents.
Q: What do professional detailers use to clean the inside of cars?
A: Professional detailers use a variety of tools, including high-quality microfibre towels, detail brushes, all-purpose cleaners, vacuums, and sometimes steam cleaners to thoroughly clean the inside of cars.
Q: What is the best homemade cleaner for car interior?
A: A simple and effective homemade cleaner for car interiors is a mixture of equal parts water and white vinegar. Add a few drops of dish soap for extra cleaning power. Use this solution with a microfibre towel.
Q: How can I make my car look clean inside?
A: To make your car look clean inside, regularly vacuum carpets and seats, wipe down surfaces with a microfibre towel and an all-purpose cleaner, and keep personal items organised and minimal.
Q: What chemicals do professional car detailers use?
A: Professional car detailers use a variety of chemicals, including all-purpose cleaners, degreasers, fabric cleaners, leather conditioners, and specialised glass cleaners. These products ensure thorough and safe cleaning of all interior surfaces.
Also Next
- Cleaning a Car Dashboard, Centre Console, Door Panels & Glass
- Car Vacuum Cleaner: How To Guide
- Kit for Car Wash: What the Pros Use at Home
- Engine Bay Cleaning & Detailing
- Cleaning a Car Dashboard, Centre Console, Door Panels & Glass
